Uniview allows the user to have the capability of exporting footage via its web interface. This is quite handy in case the attached monitor UI is not accessible.
This guide is for after the device has a storage drive installed and formatted. As well as recording schedule set.
Step 1 - Navigating To Playback
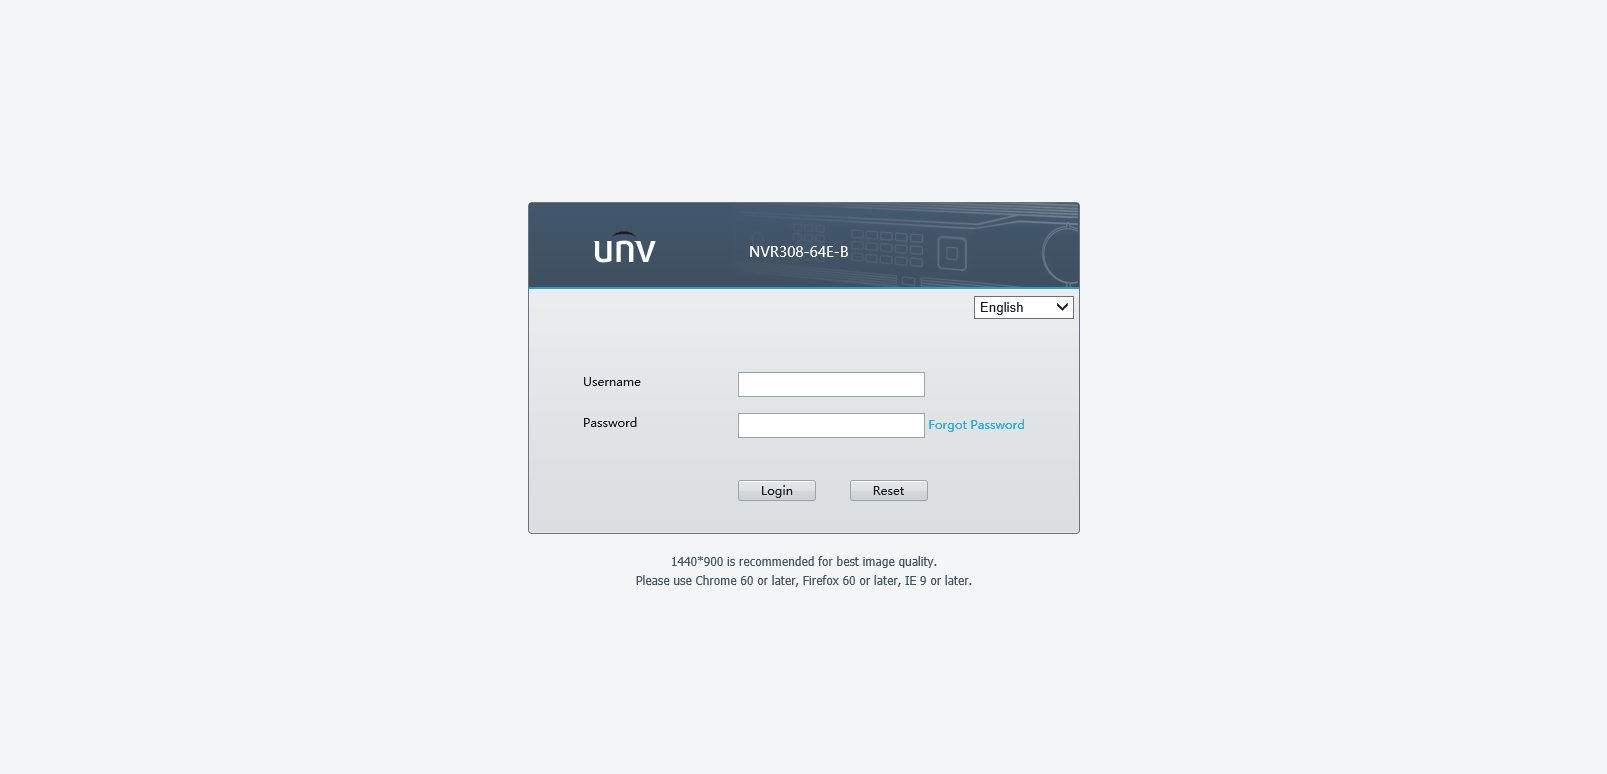
First, you will input the device's IP address into the address bar in a web browser. In this guide, we are using Edge running in IE mode.
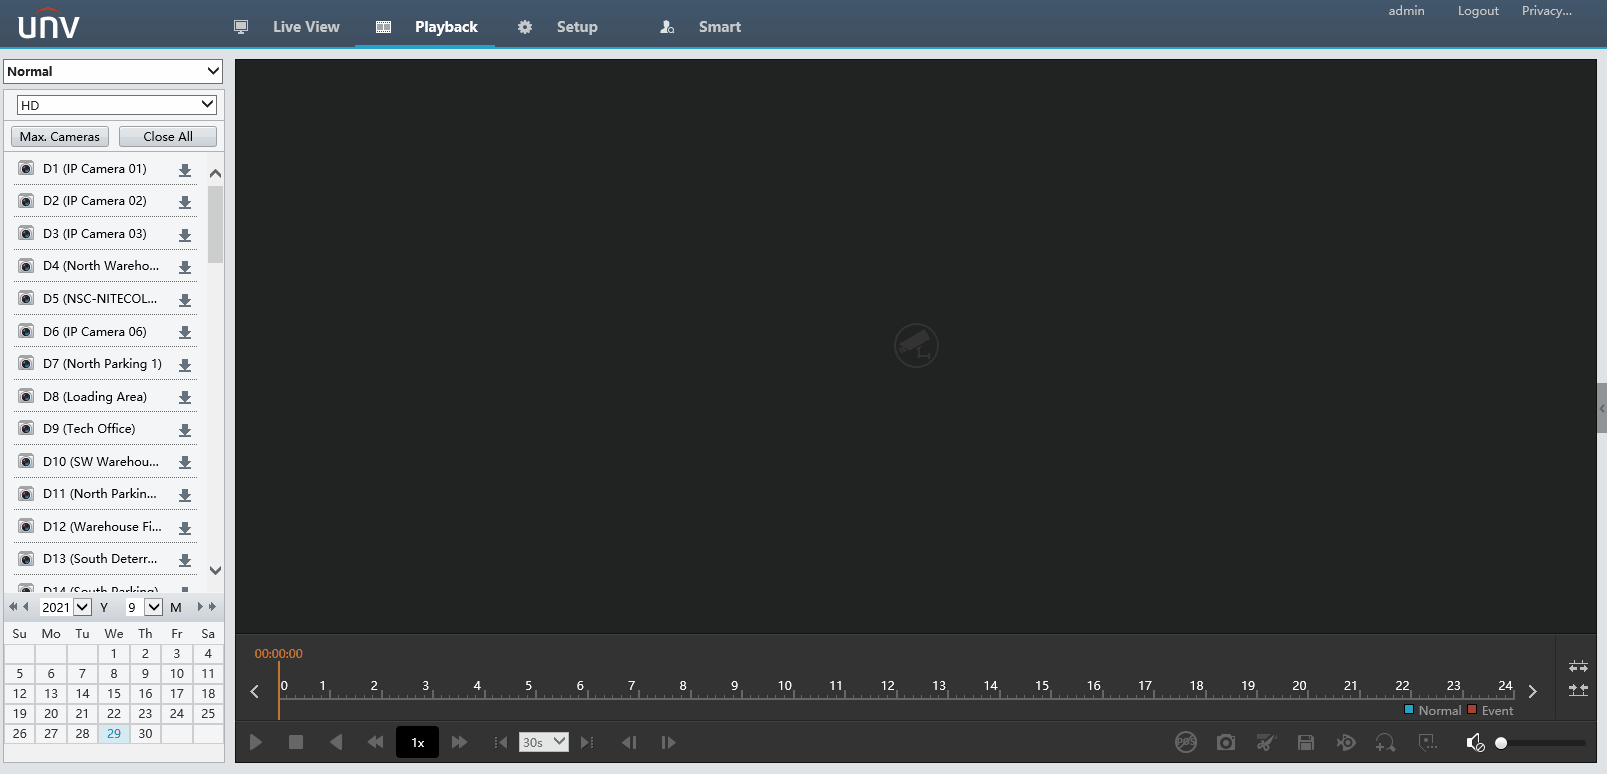
Once you are logged in, across the top of the page, select the Playback Tab
Step 2 - Exporting Process
Once in the Playback section, you will see a list of cameras on a left column with Download icons next to them.
Click on the Download icon and a new popup window will appear.
From here, you can select all of the cameras that you want to export footage from.
There will be a Start Time & End Time selection for the clips.
Once you have the parameters selected, hit Search.
Afterwards, a list of clips will appear below, select the clips you would like. Also, if you'd like the clips to be merged together, select the Merge and Download checkbox.
When all the selections are selected, hit the Download Button.
As the files are downloading, you will get a status bar at the top right of the screen and once the files are done, a hyperlink will appear for you to click to pull up the files.

To view the exported footage, you can use either VLC Player or Uniview's EZPlayer