This guide will show how to view a Uniview NVR on the mobile app EZView.
You will need a network connection for this setup.
Step 1. Connect The NVR To Your Network
First, you will need to connect the NVR to your network. Taking a cat5e/cat6 cable from the LAN port on the NVR, then the other end will go to your router or network switch.
Step 2. Log Into The NVR and Enable EZCloud
We will be going through this process via the web interface on internet explorer from a local PC.
From the Live View of the NVR, Go to Setup -> Network -> EZCloud
Make sure It is set to ON and "Add without Signup" is ON, unless if you would like to have added security, switch it to OFF.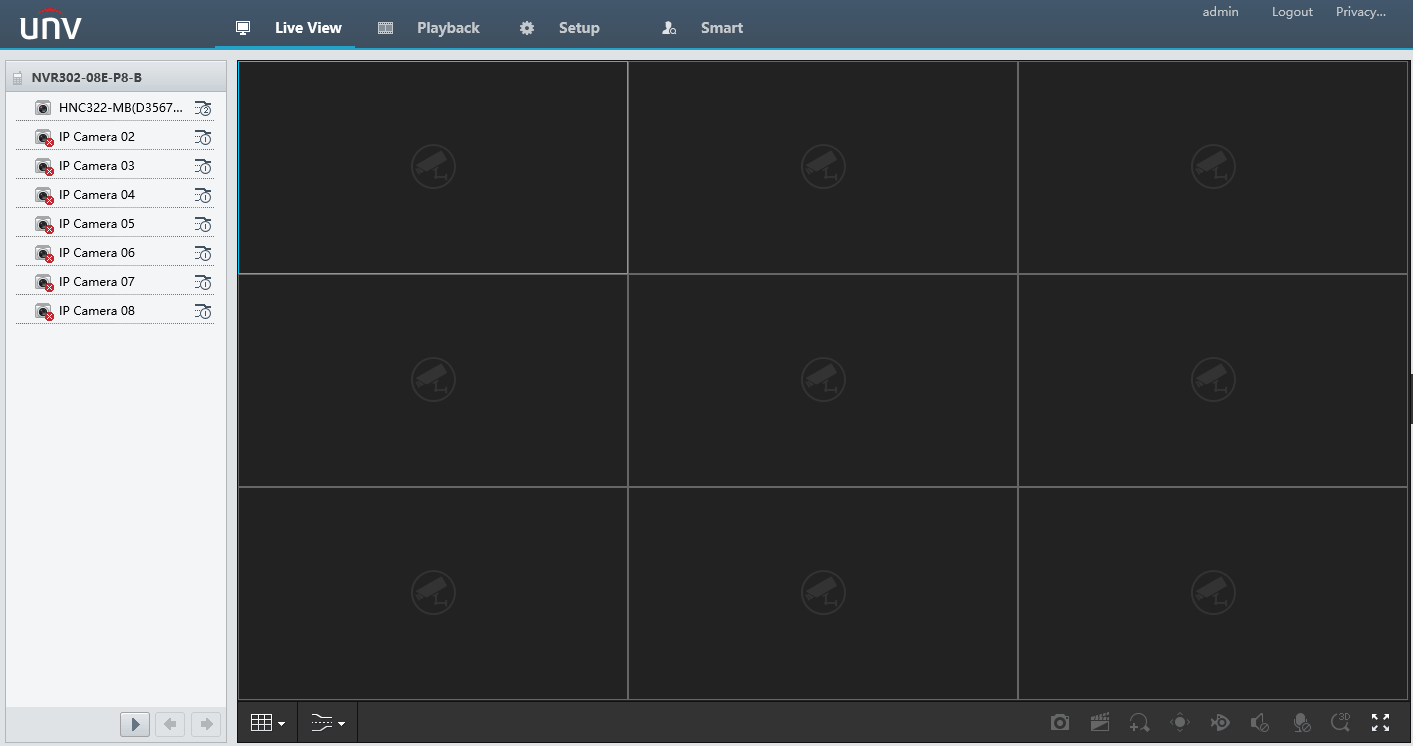
Step 3. Download The EZView App


Step 4. Add the NVR
First, open the app, then click the 3 Horizontal Line icon in the top left corner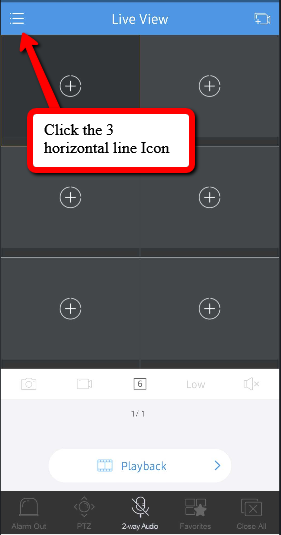
Click on Devices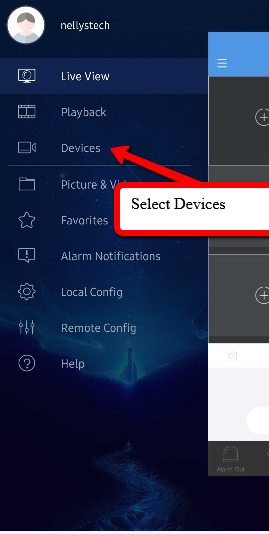
Select Add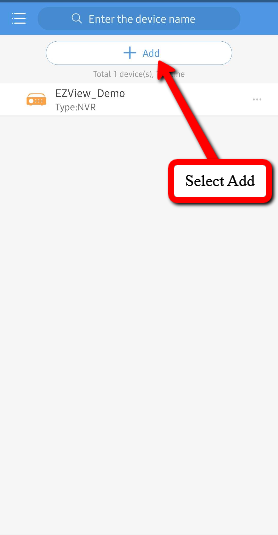
Choose Scan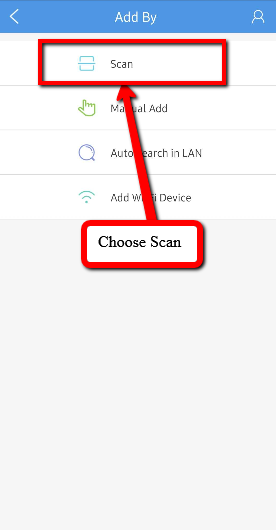
Then Scan the QR Code from the web interface of the NVR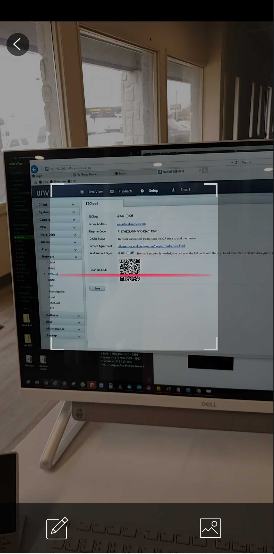
Enter a Nickname for your NVR and click Start Live View
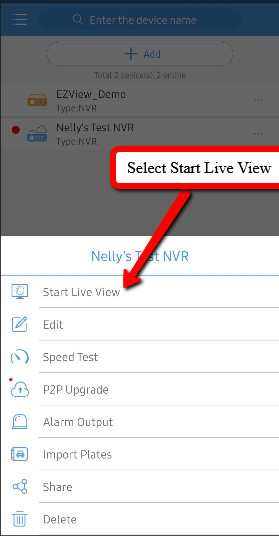
Then you will see a Device list With your NVR, Click on it for a Pop up to appear, and select "Start Live View"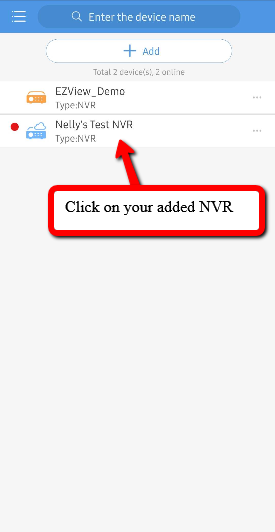
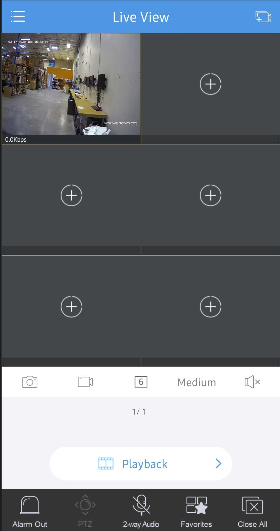
Then You will have a Live View of any cameras connected to the NVR!